Web UI
The on-device configuration interface, tab by tab.
Connect to the ShutterBridge Wi-Fi access point and open http://10.0.0.1.
The interface has four tabs - Camera, Channels, OSD and System - a version pill in the header, and a Save button pinned to the bottom. The UI adapts to the camera you’ve bound: controls a given camera can’t do are hidden.
Camera
Live status and the camera link.
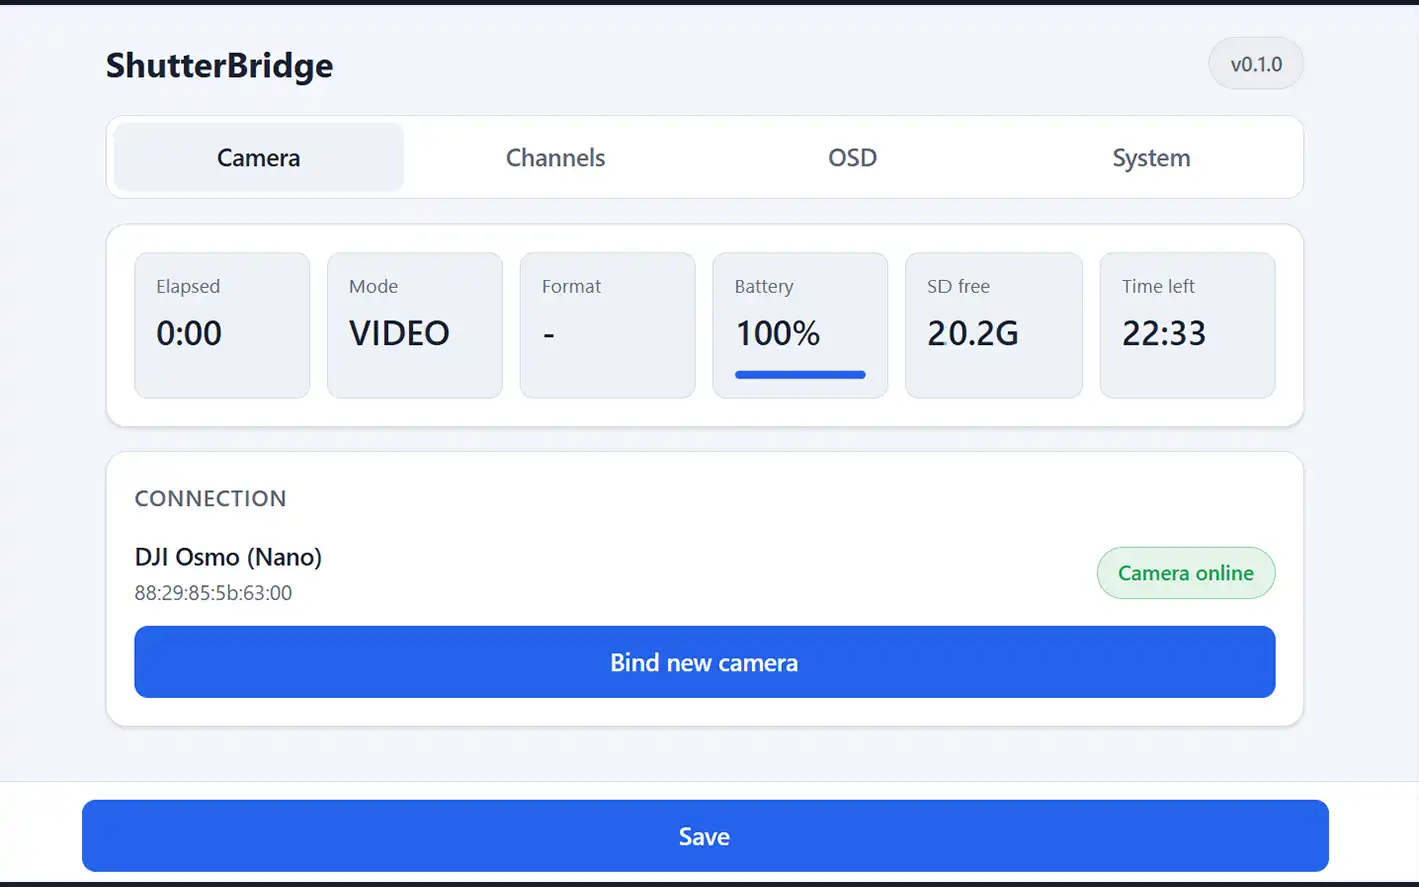
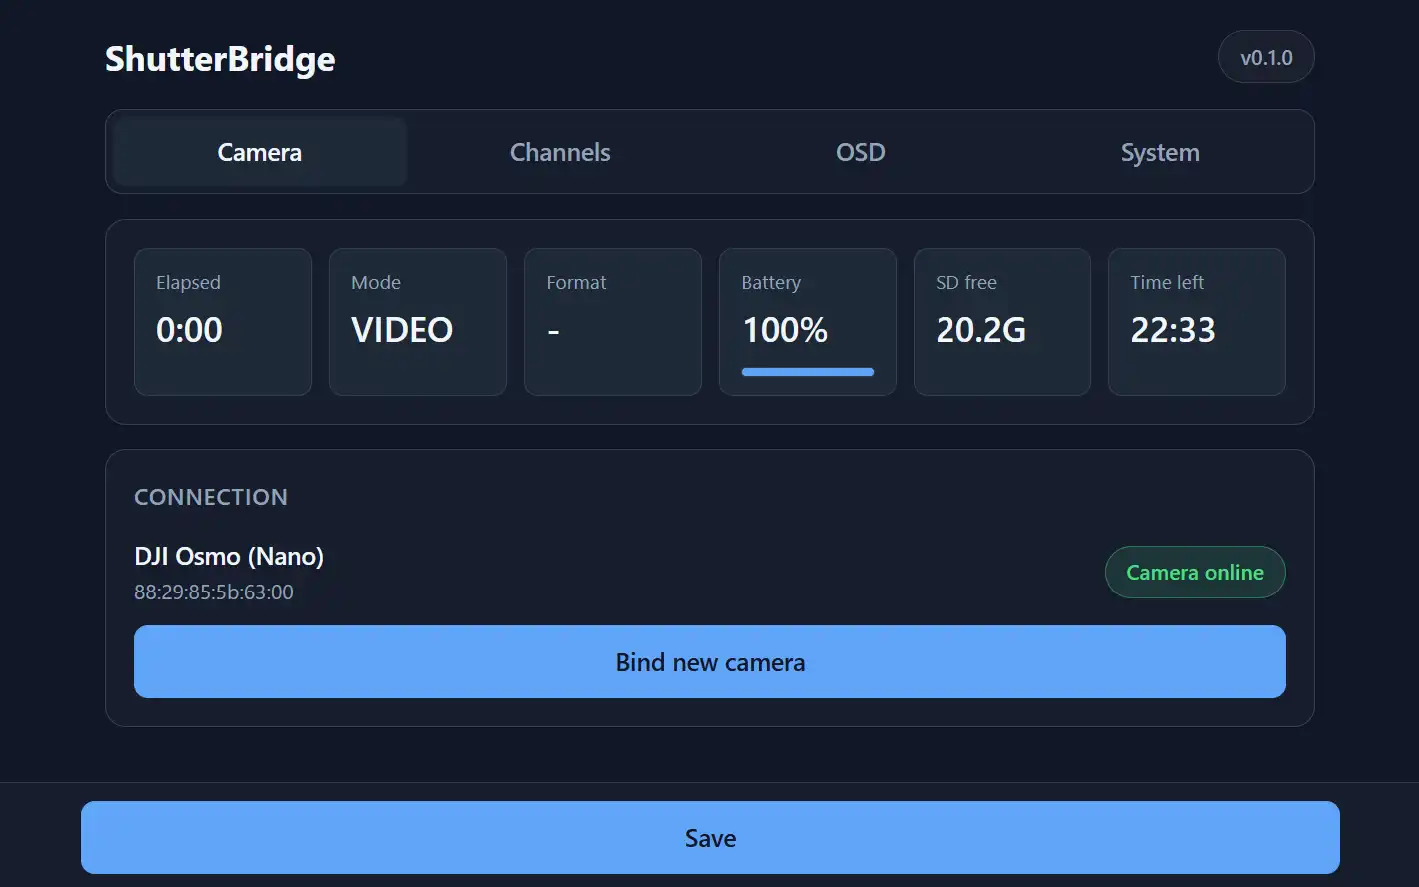
Live status
When a camera is online, this card mirrors what it’s doing:
- REC indicator - lit while recording.
- Elapsed - current recording time (mm:ss).
- Mode - Photo or Video.
- Format - resolution and frame rate, e.g.
4K 60fps(not reported by the Osmo Nano). - Battery - percentage, with a bar.
- SD free - remaining card space.
- Time left - estimated recording time left on the card (mm:ss).
Connection
Shows the bound camera’s model and MAC (or No camera / not bound) and a status pill:
- connecting - reaching the camera.
- Accept PIN on camera - approve the pairing PIN on a DJI camera’s screen.
- Camera online - connected and reporting.
- Camera offline - not connected.
Binding
Bind new camera opens the pairing wizard: pick the Camera type (DJI Osmo (Nano) / DJI Action / 360 / GoPro), Scan, then Select camera from the list. The board saves the choice and reboots to connect. Binding is a one-time step; after that it auto-reconnects on every boot.
Controls
Manual controls for the bound camera. This card only appears for cameras that support a mode switch, and it’s disabled while Record on arm is active (in that mode the camera is driven automatically).
- Mode - switch the camera between Video and Photo (Action / 360 and GoPro; the Osmo Nano can’t switch over BLE).
- Preset group (GoPro only) - load the Video, Photo or Timelapse preset group.
- Preset by ID (GoPro only) - load a specific preset by its hex ID.
Channels
Map RC switches to camera actions.
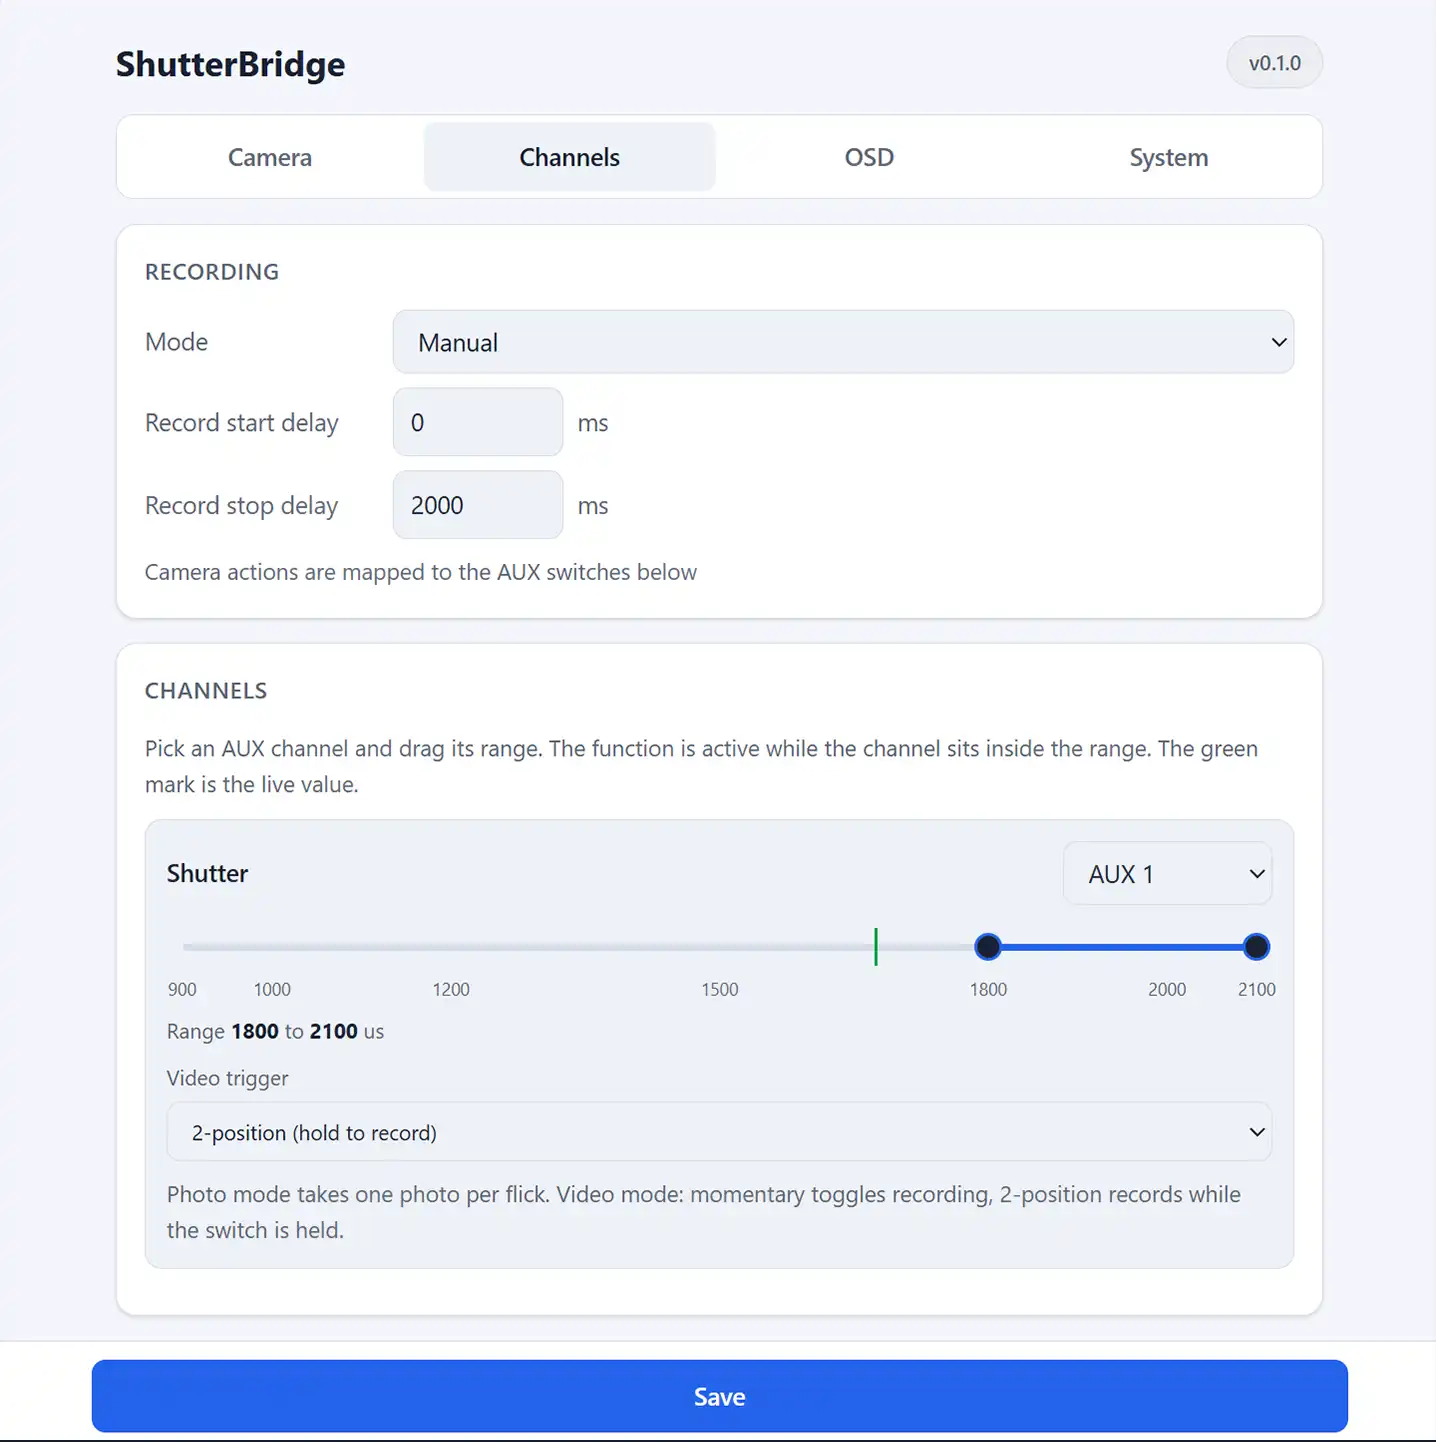
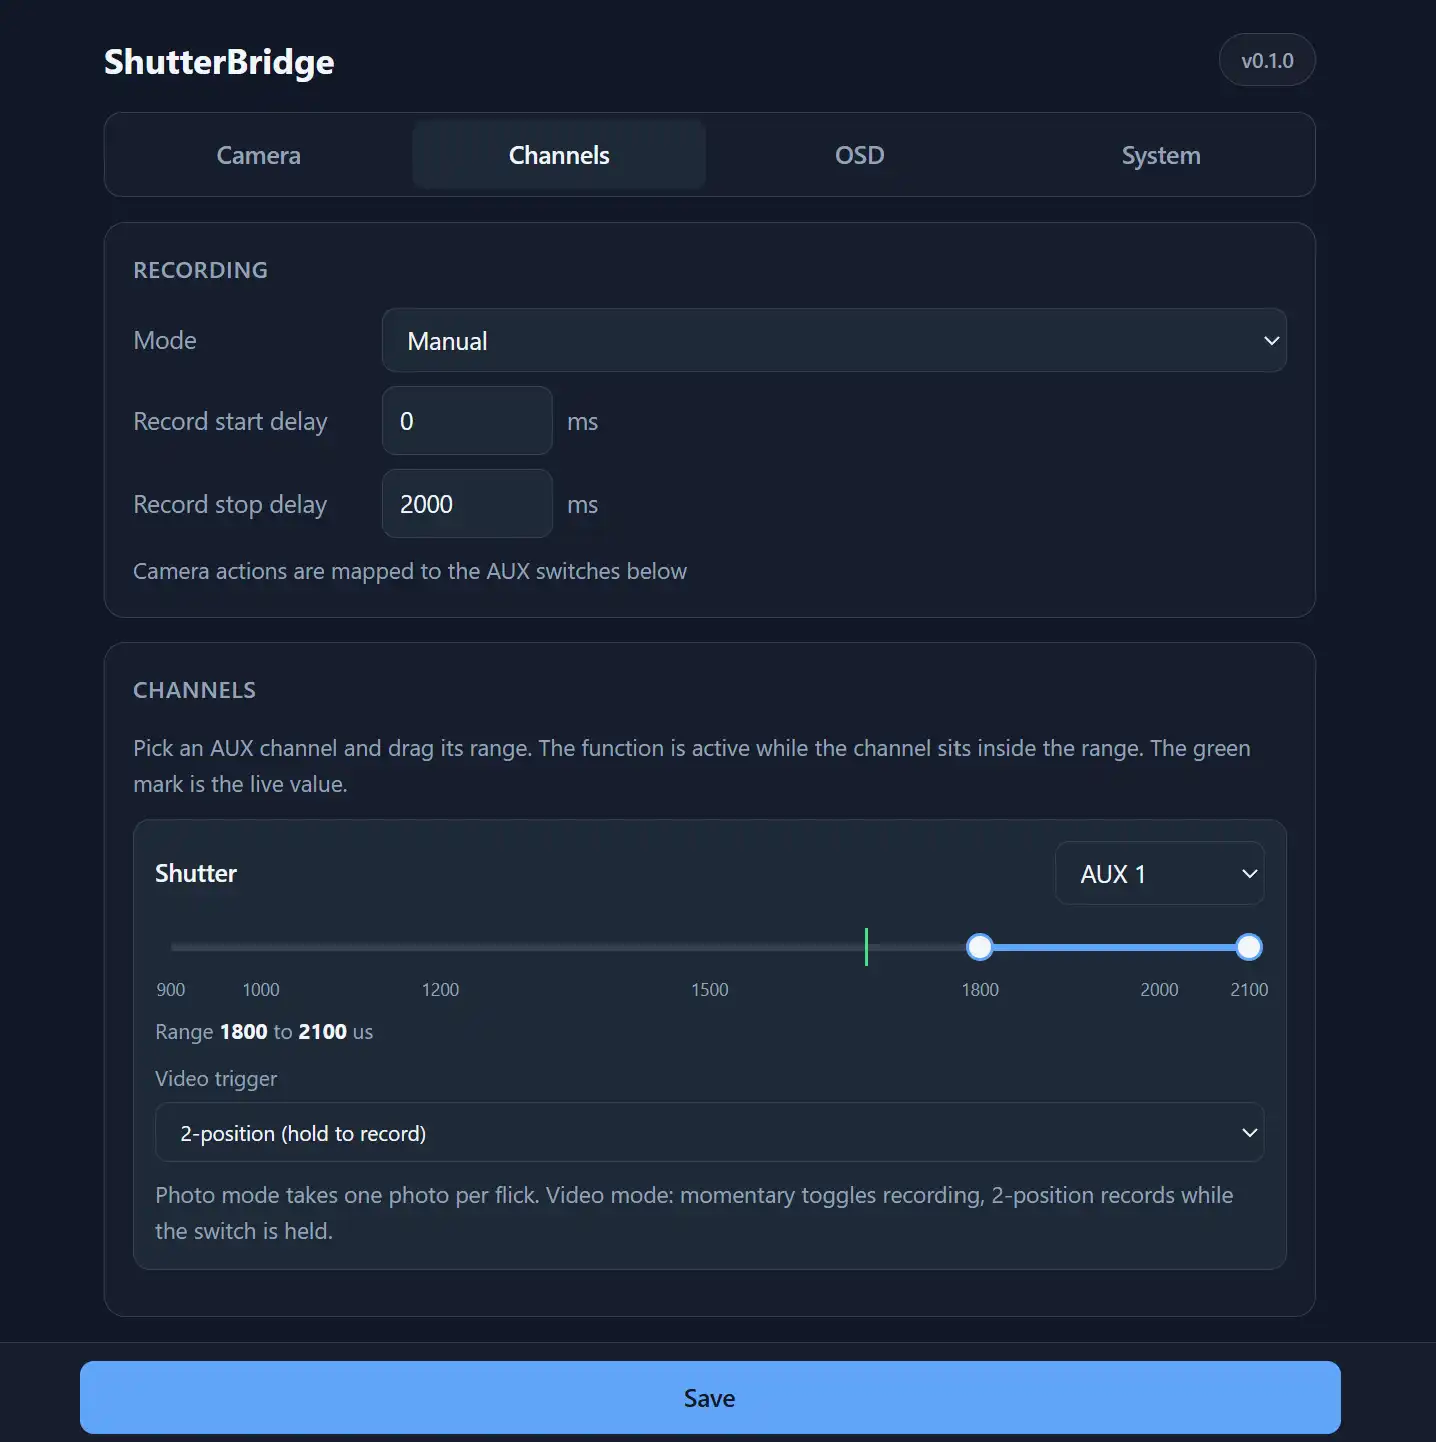
Recording
- Mode
- Record on arm (default): starts recording when you arm and stops when you disarm
- Manual: drives the camera entirely from the channel functions below (manual controls are turned off in this mode)
- Record start delay / Record stop delay - milliseconds to wait before starting/stopping, so you don’t clip the beginning or end of a clip
Channel functions
Each function has an AUX channel selector and a range slider (in
microseconds). The function is active while that channel sits inside the range; a
green marker shows the channel’s live value.
Setting a function’s channel to Off disables it.
Functions available (the UI hides ones your camera can’t do):
- Shutter - the main trigger. In Photo mode it takes a photo; in Video mode it records. Its Video trigger option picks the behaviour: Momentary (each flick toggles recording) or 2-position (records while the switch is held).
- Camera Mode - switch the camera between photo and video from a channel (Action / 360 and GoPro). Momentary toggles each flick; 2-position sets Photo in-range and Video out.
- Preset Video / Preset Photo / Preset Timelapse (GoPro only) - load a preset group from a channel.
OSD
Choose what telemetry the four OSD slots show.
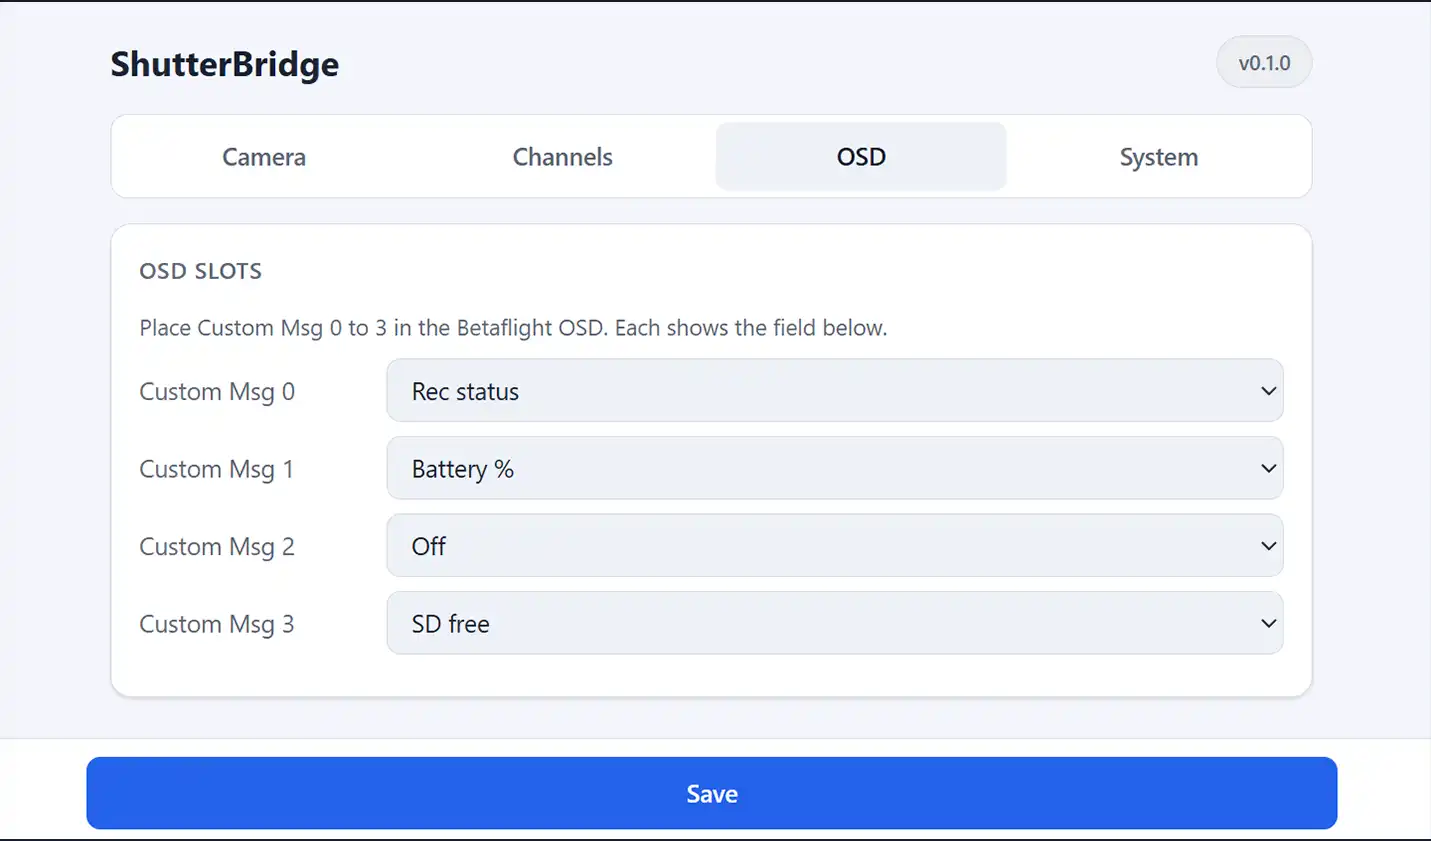
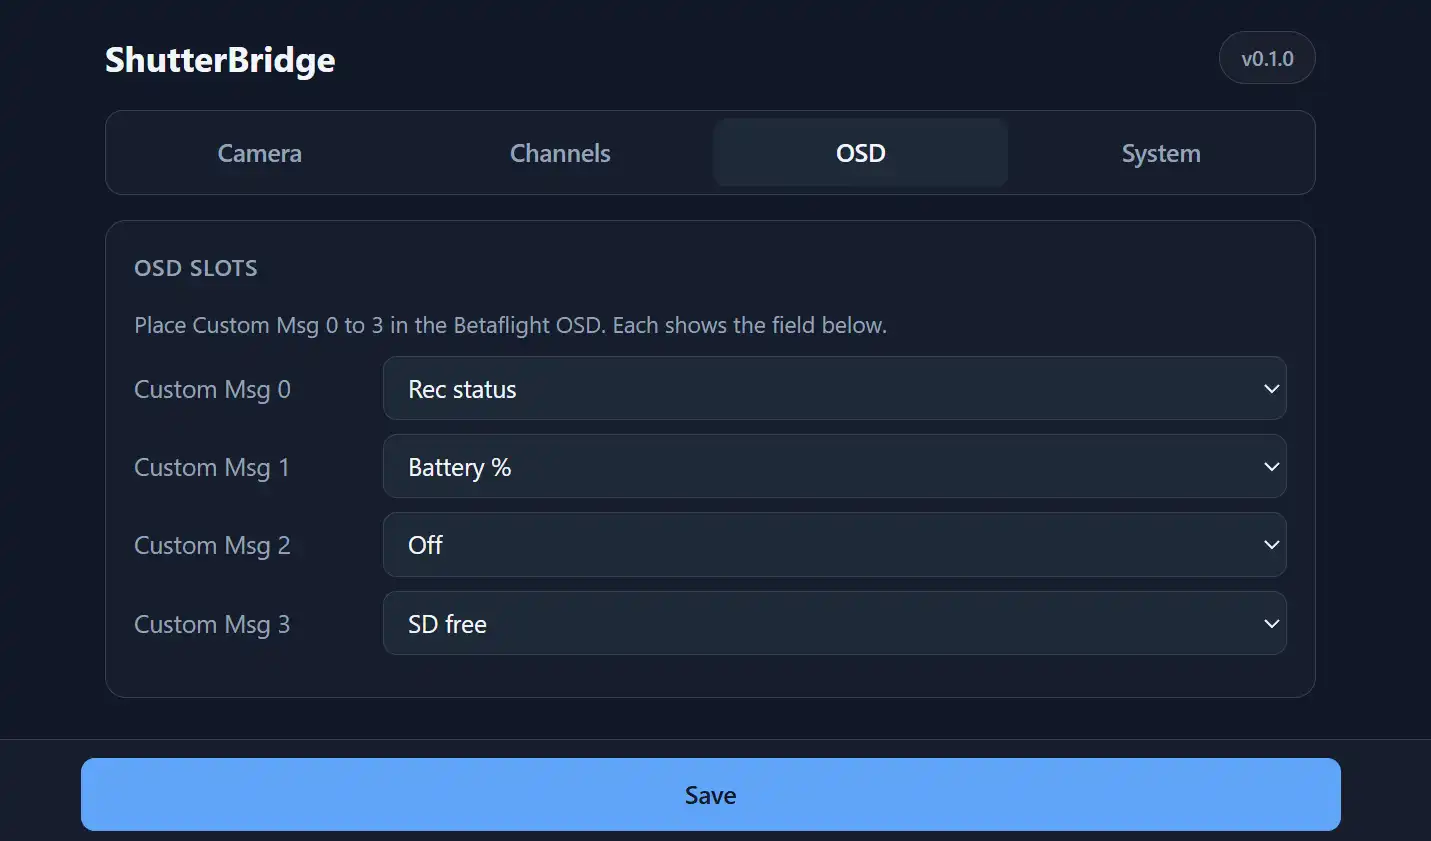
Each Custom Msg slot (0-3) maps to a field: Off, Rec status, Battery %, Mode, SD free, Time left, Resolution or FPS. Resolution and FPS aren’t available on the Osmo Nano.
Assign a field here, then enable and position the matching Custom Message elements in Betaflight’s OSD tab - see FC Wiring & Betaflight.
System
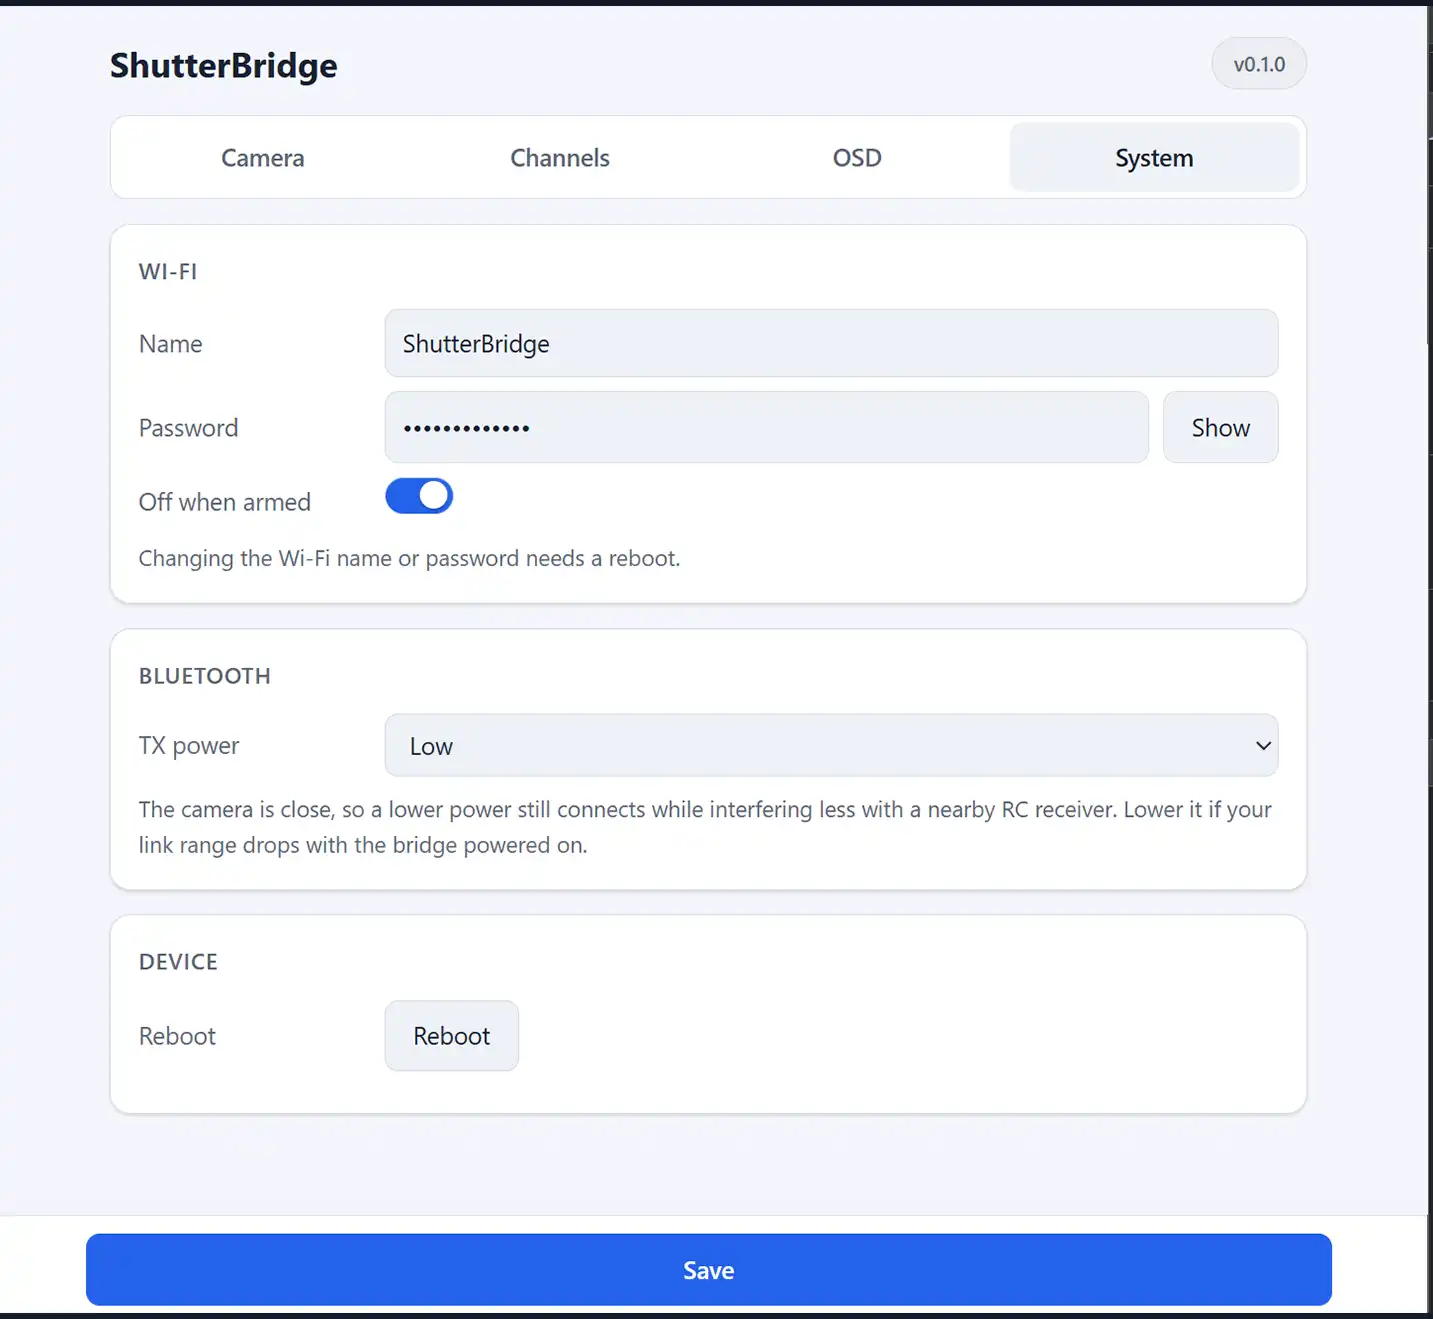
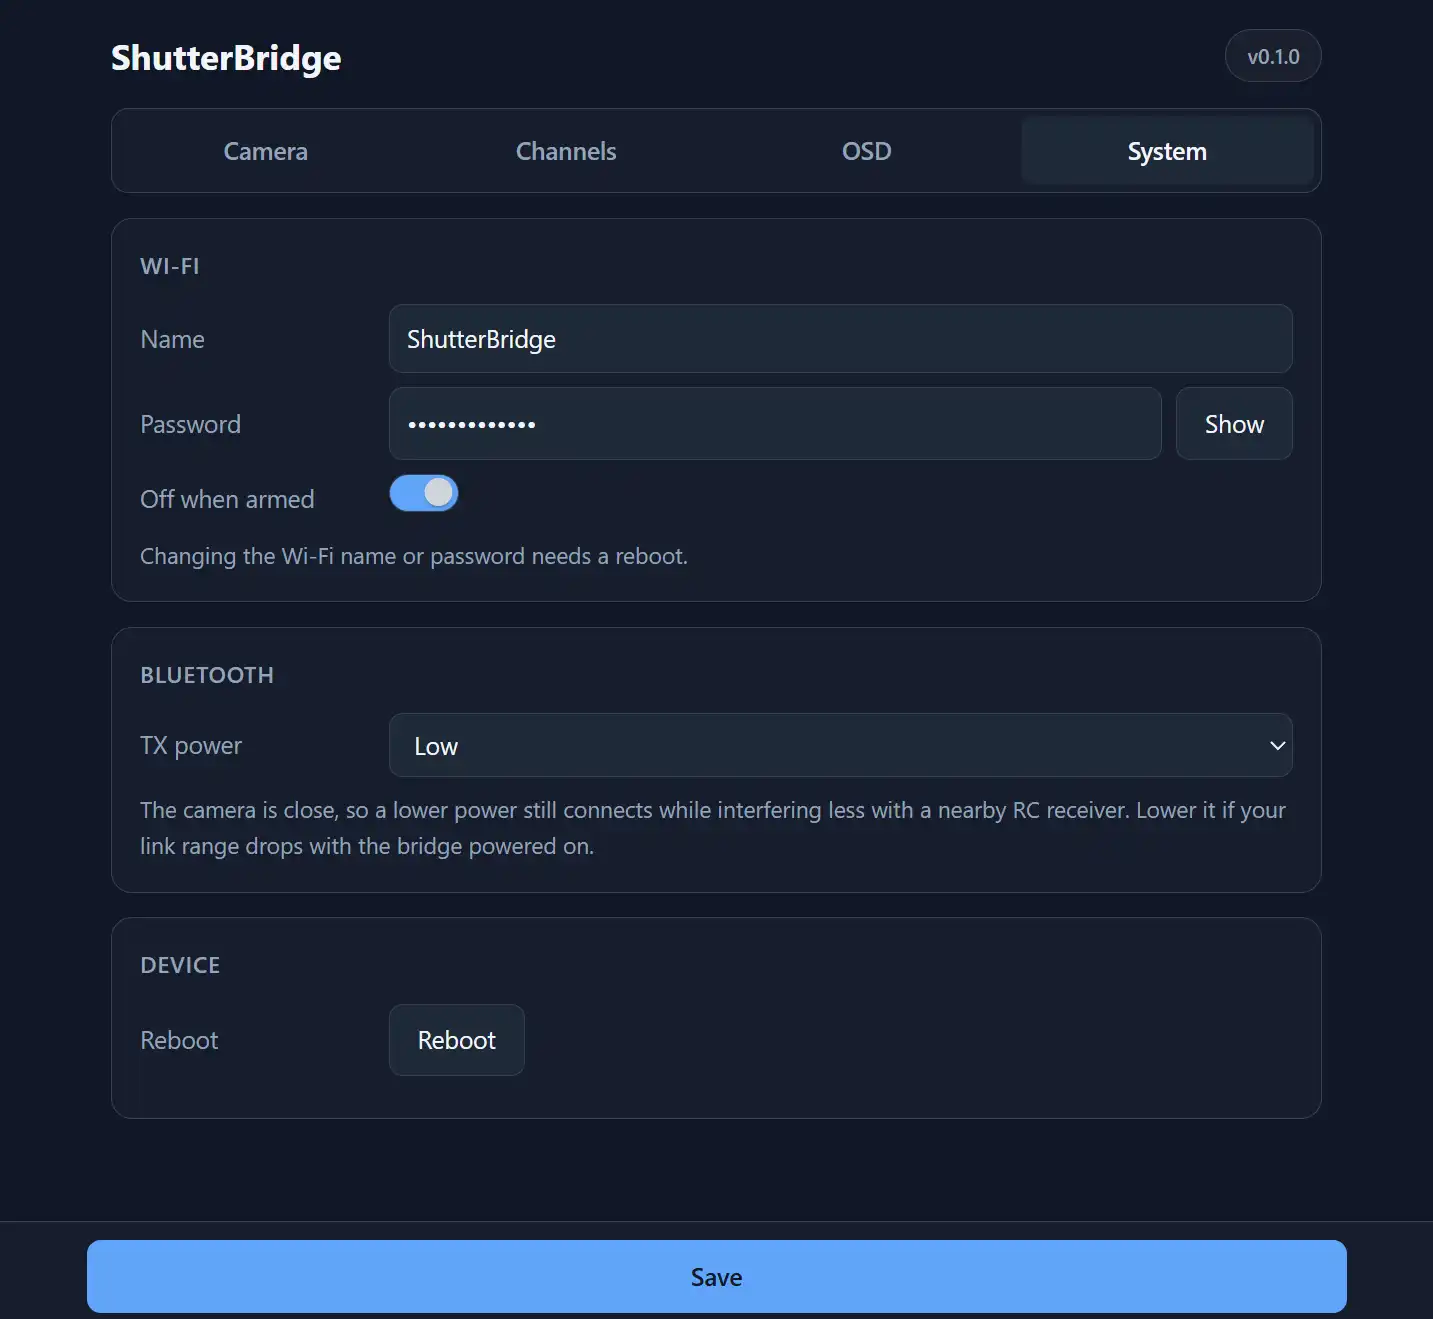
Device-wide settings.
Wi-Fi
- Name / Password - the config access point’s credentials (changing these reboots the board).
- Off when armed - drop the config Wi-Fi while the FC reports armed, so the radio is dedicated to the camera link in flight.
Bluetooth
- TX power - Low, Medium or High. Higher reaches further but can interfere more with a nearby RC receiver. Lower it if your control-link range drops with the bridge powered on.
Clock (GoPro only)
- Sync from GPS - set the GoPro’s clock from the flight controller’s GPS time. Needs a GPS fix on the FC.
- UTC offset - hours to shift from UTC for local time (quarter-hour steps).
Device
- Reboot - restart the board.